Carolina’s Tips for Creating an Art-Filled Room
If you’re following along with our art series, Pulp has given you great tips for layering art in your home. In this post, we’re going to show you how to do it, step-by-step, in cofounder Carolina Gentry’s own home! Here are her tips:
Over the years my husband and I have collected art from travels or just random places or pop-up shops here in town. For years we lived in a loft and didn’t have much wall space but kept collecting art in an art portfolio to have framed in the future. I’m so glad I did because it made it a lot easier to have that art framed once we moved into our house! When we created a cozy den out of a second bedroom, we wanted this room to have every wall covered in artwork. It’s been a process, and slowly but surely we are getting there. Here are some steps for creating an art-filled room!
Create Your Collection
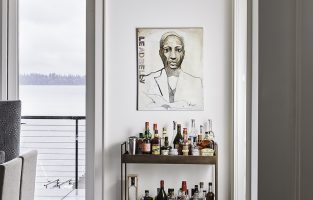
Building a collection takes time! You should try to buy art when you travel, even if you’re not going to hang it right away. Always keep your eye out for pieces that grab your attention. They don’t have to be expensive or “fine art,” if you like it, then you should get it! The art doesn’t have to have rhyme or reason – an eclectic mix is always fun. And your frames don’t need to match, either. Your art should just show your personality and be items that you love.
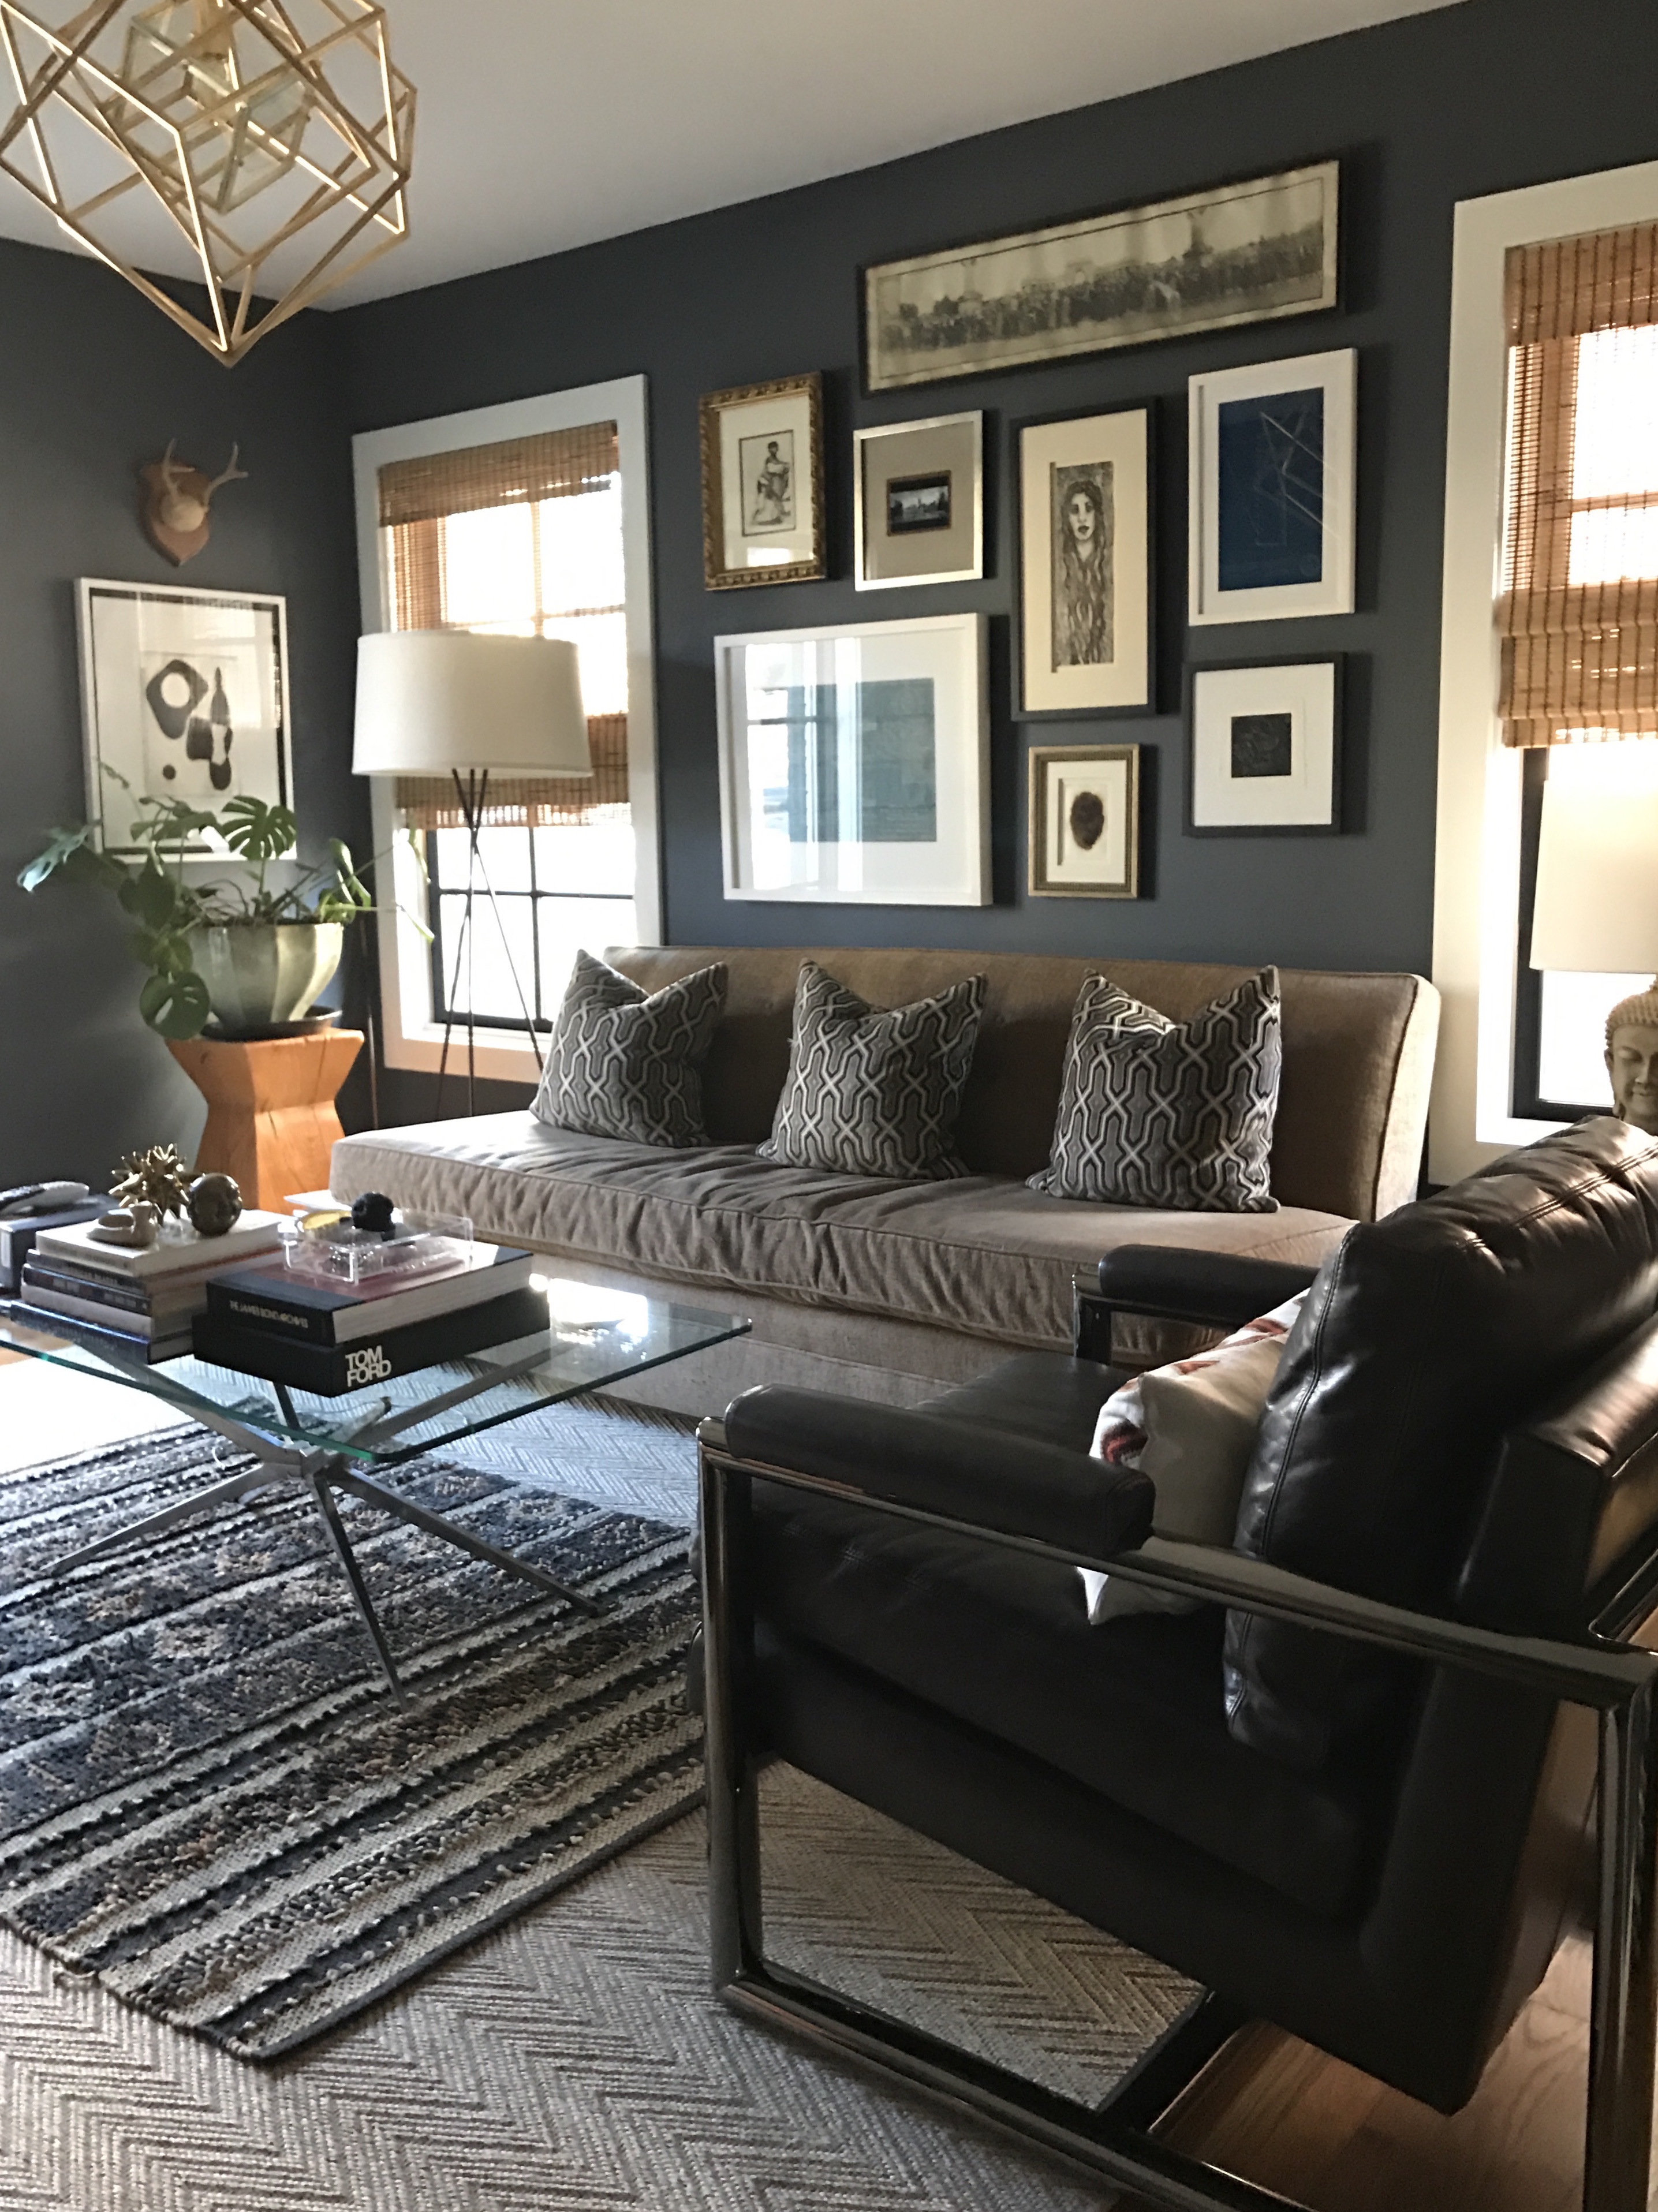
Tell a Story
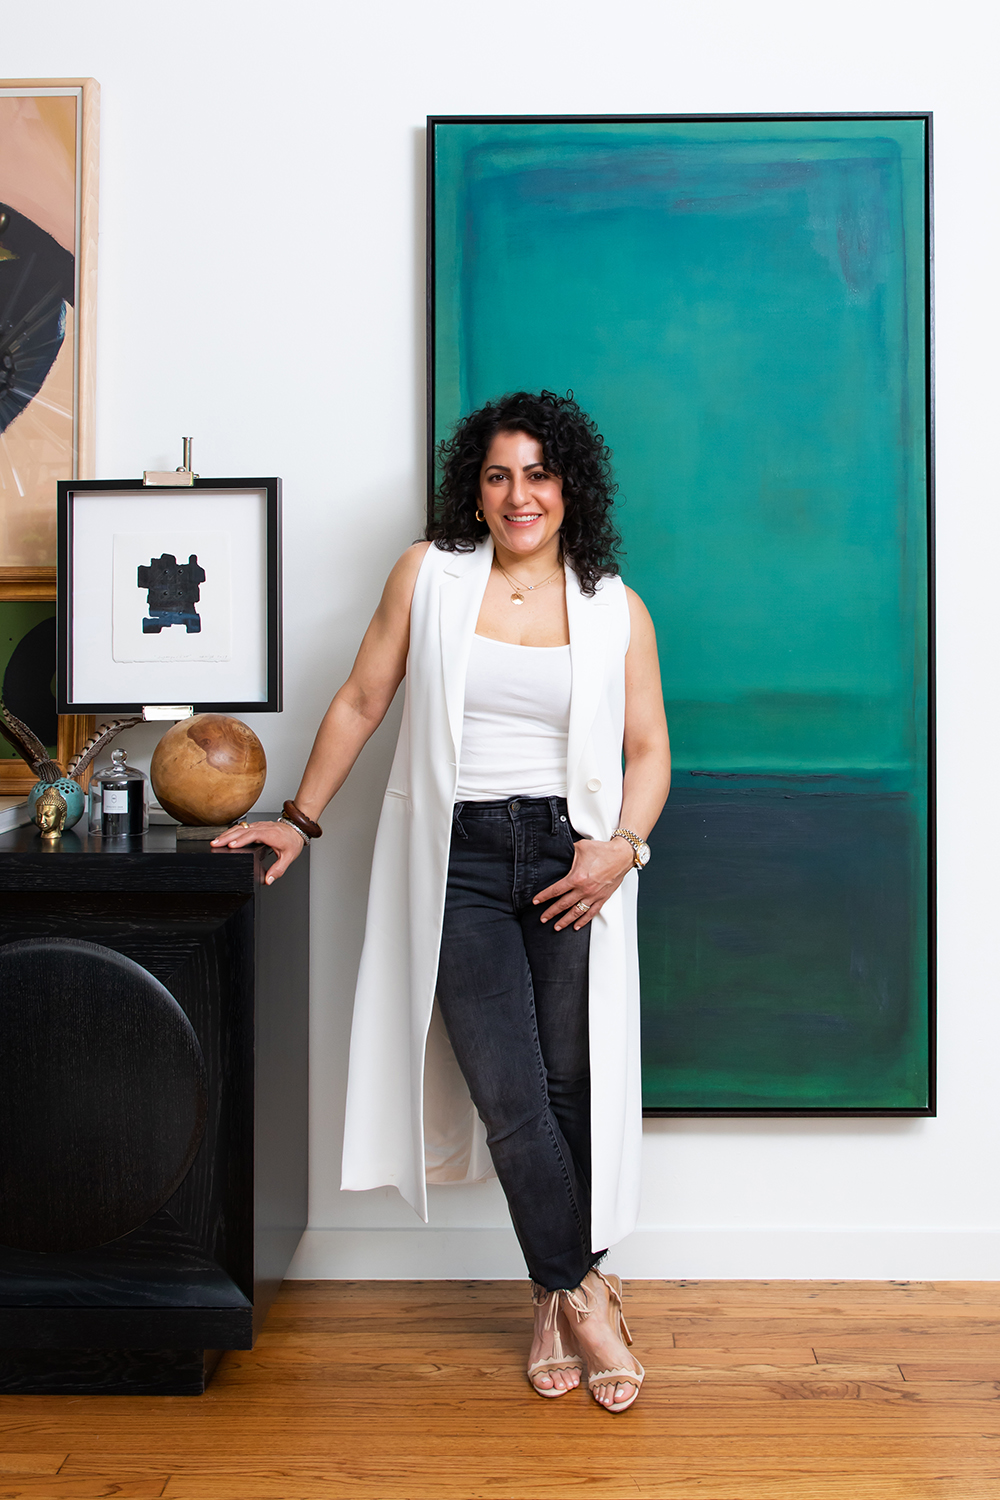
Besides buying new art, we also love to frame photos and memorabilia from our families. It totally makes this room special and a great place for storytelling. In the photo above you can see some of our personal pieces. In this room, we have a large photograph of family vacationing in Colorado (circa 1930s) from my husband’s family. He found it in the attic before we demo’d the house. We also have the original blueprint of the land plot of our house, charcoal sketches from art shows, as well as lithographs and photographs from college. My uncle was an artist in Mexico and I have some of his pieces and random fun finds from over the years. The collection keep s growing but I love sitting in this room looking at all of the art and remembering the fun times we had together acquiring each piece.

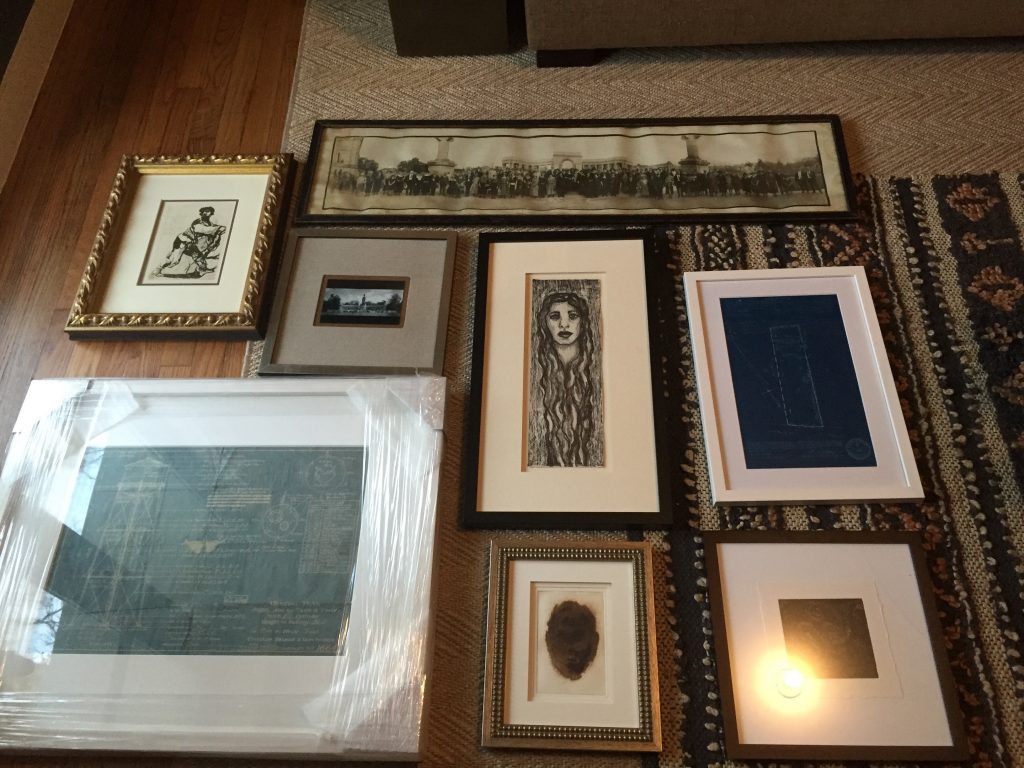
Find the Perfect Placement
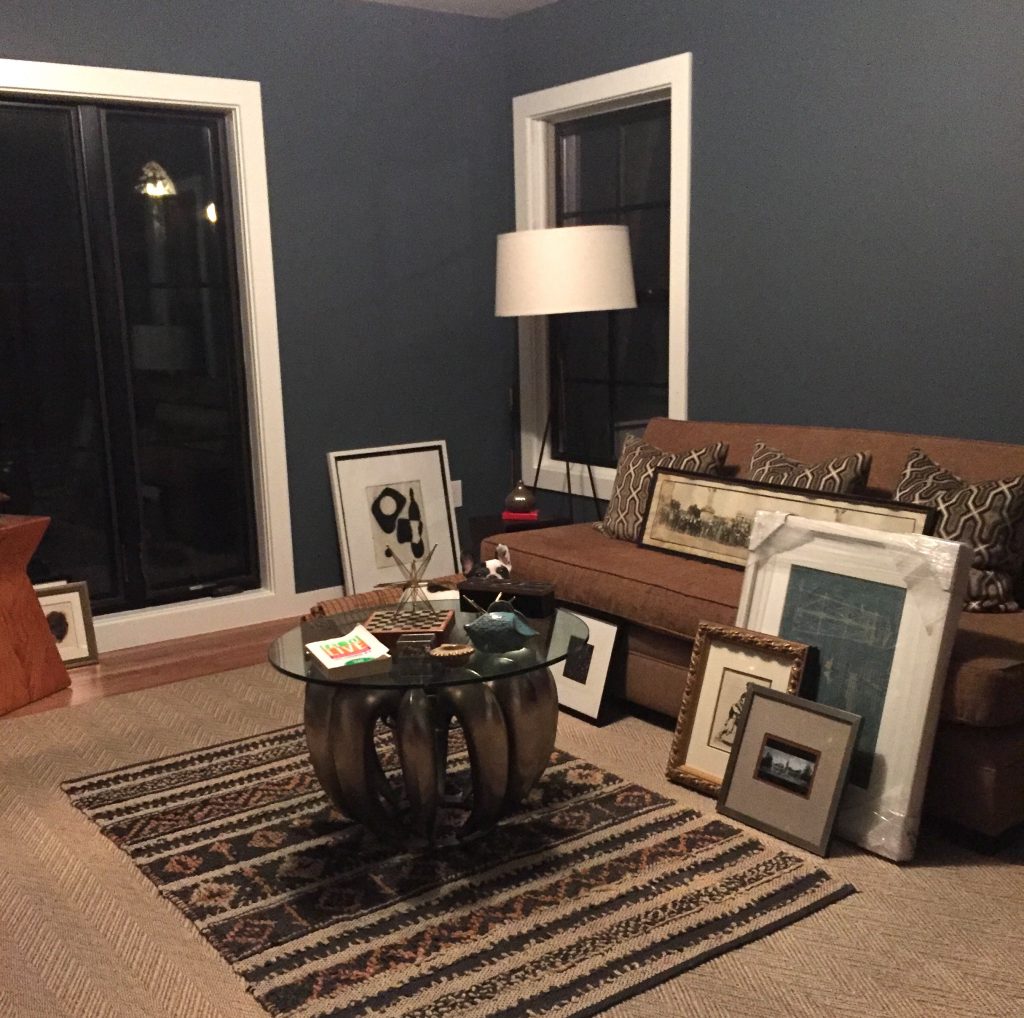
The real key to finishing your art-filled room is to place the art correctly. No one wants to have to move a nail and end up with holes in your newly-painted walls. So as you can see above, I like to lay my art on the floor and start moving it around the room, creating grids and ideas as I go. For each wall you can use Contact strips to temporarily place the art until it looks the way you want – then you can go back and give it a permanent hanger. Another good rule of thumb is to keep the center of the art at eye level – most people tend to hang their art too high up on the wall.
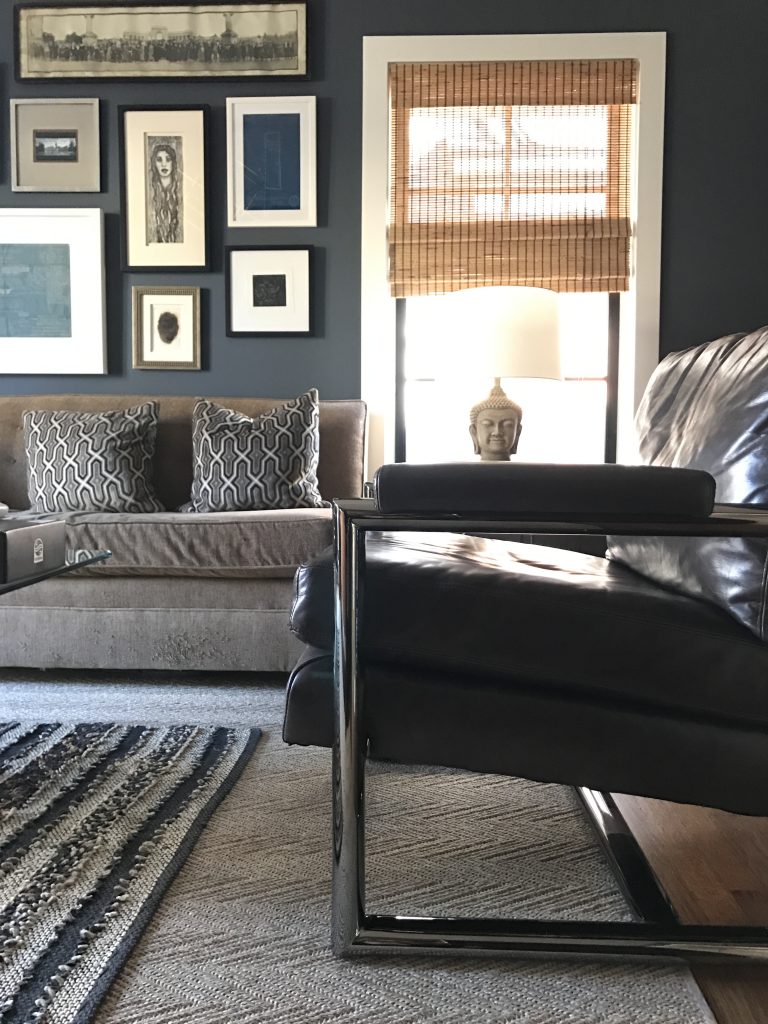
For the perfect gallery wall, select one piece as a starting point – it will be in the center – and build around it. I called a professional to hang my art, but if you want to attempt this yourself, you can cut out paper templates in the size of your art and tape them to the wall to set your hanging locations. It’s much easier to move a piece of paper then a framed painting!
Art adds personality and style to every room. Start reviewing the art you have now and plan what you want to add for fabulous art-filled spaces in your home!
If you have any comments or questions, follow and direct message us over at our instagram accounts at @pulpdesigns!
Credits

SECTIONS
Design InsiderEntertaining + Home Living
Health + Beauty
News + Announcements
Pulp At Home
Pulp Design Work
Shopping Guide
The Business of Design
The Pulp Edit
Travel
Videos
GET INSPIRED
SUBSCRIBE TO OUR NEWSLETTER TO
GET AN INSIDER LOOK IN YOUR INBOX